IT Ricoh Printer Installation on MacOS
Follow these steps on a Mac to add a UCIT Ricoh printer.
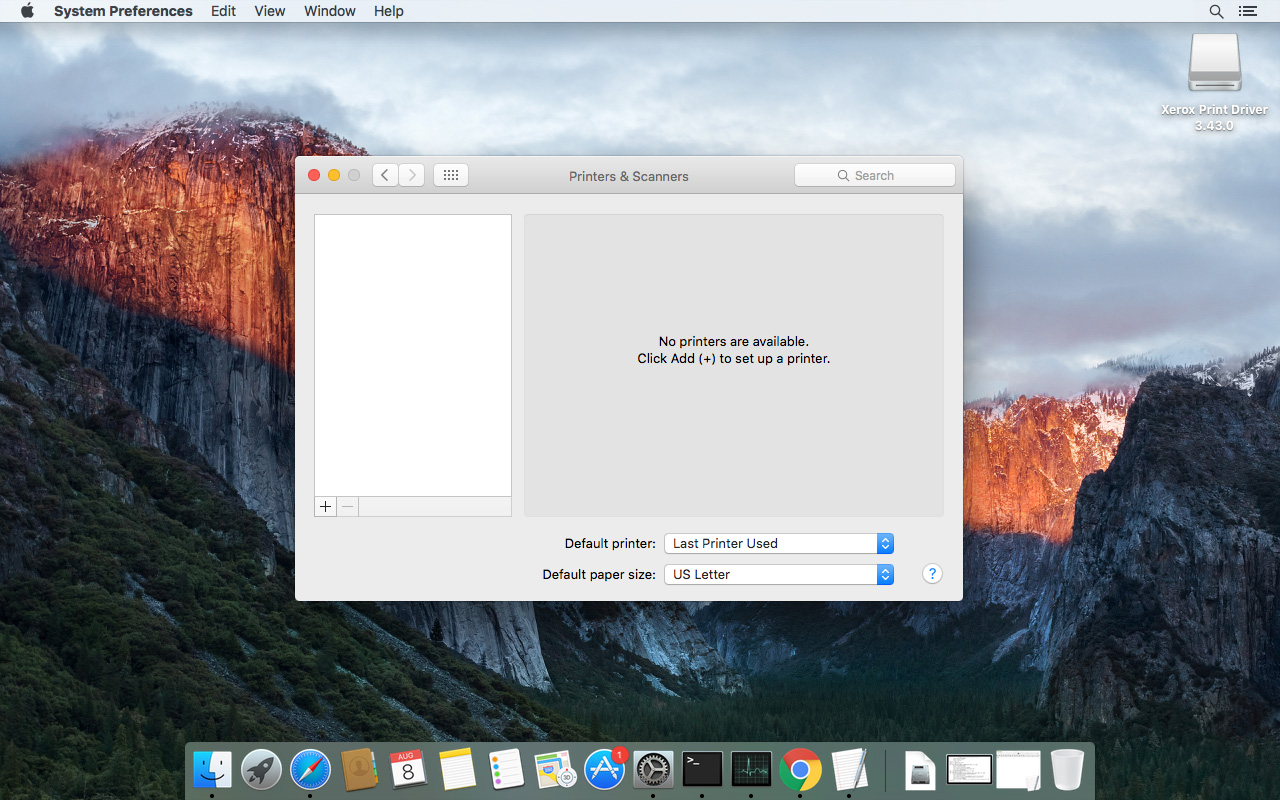
Open System Preferences by clicking on the Apple icon on the top left and clicking 'System Preferences'.
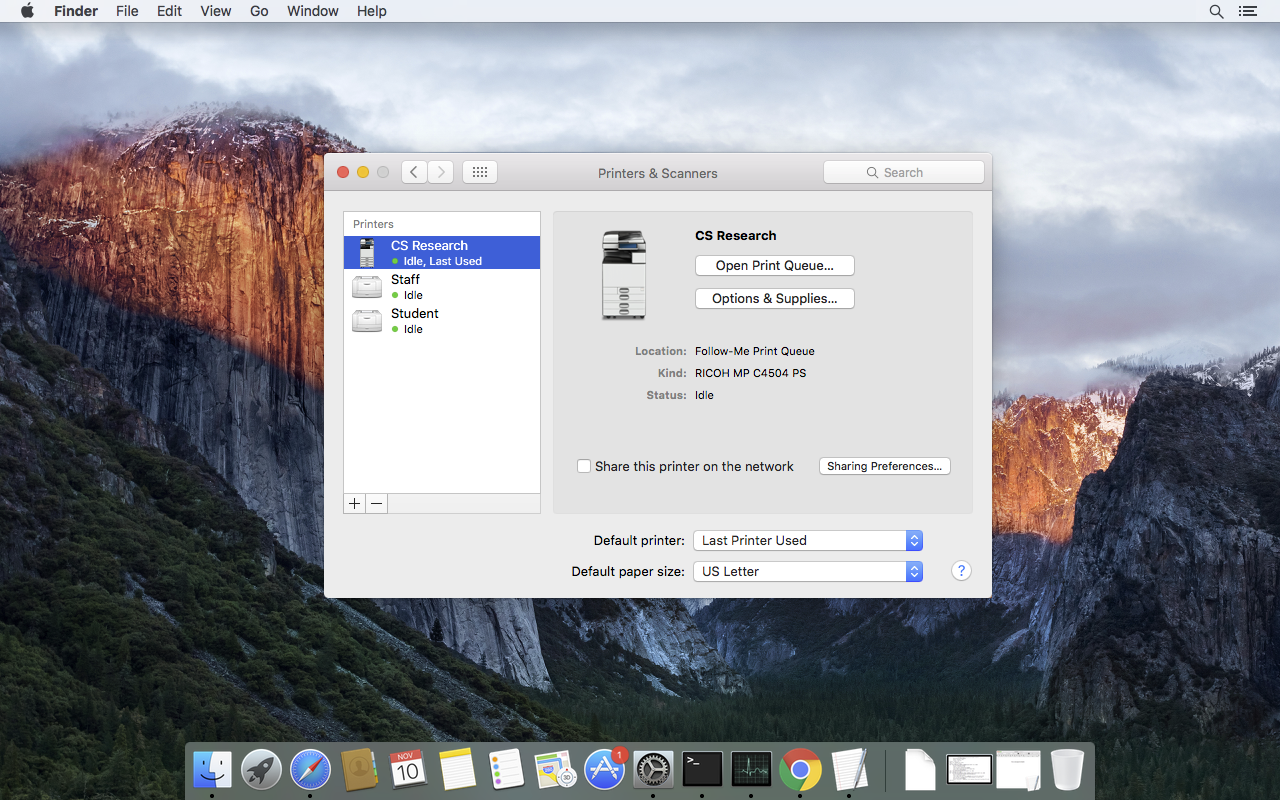
Click on Printers & Scanners.

Click on the + icon to add a printer.
If you do not see a Advanced button, right click on the bar and select 'Customize Toolbar...'

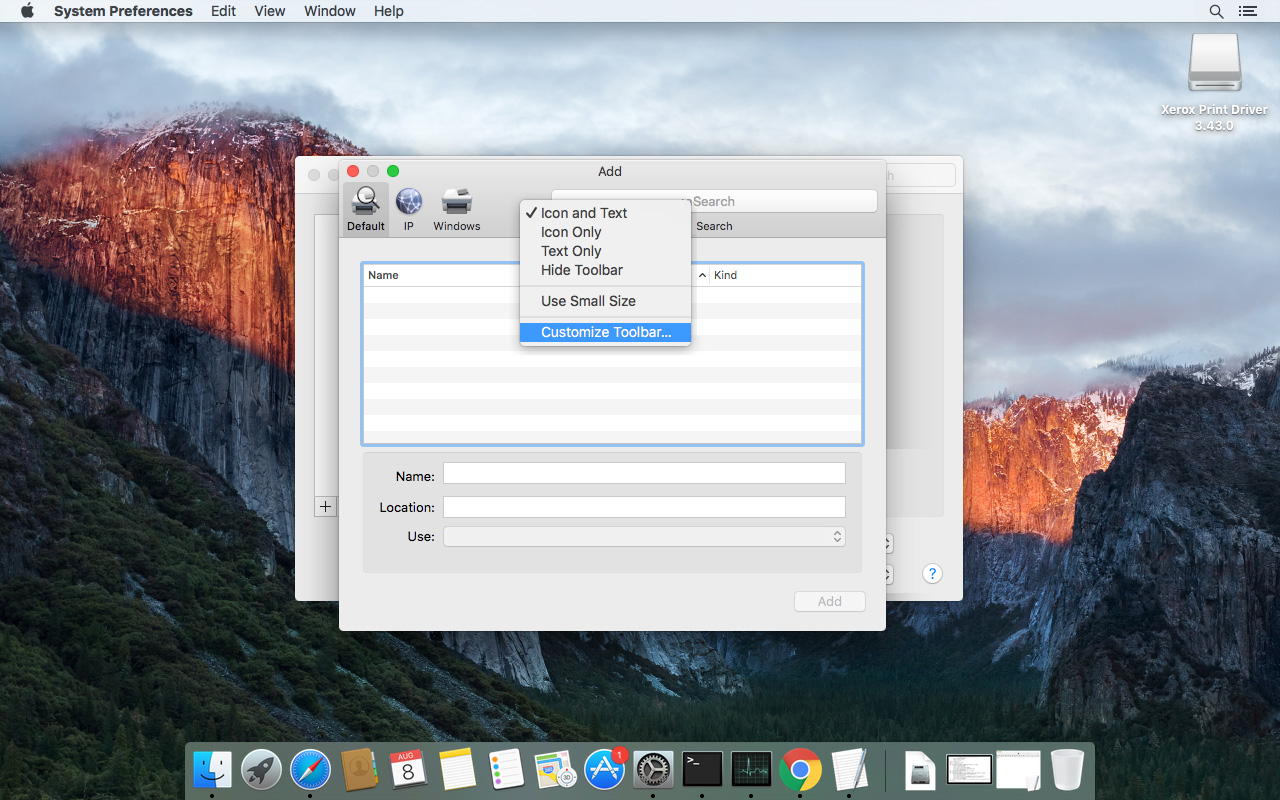
Drag the Advanced button to the toolbar.

Click on the Advanced button.

Computer Science Research Queue
The CS Research queue will let you print to all Ricoh printers in Computer Science. You must manually release the job at the printer using your OneCard.
To add the CS_Research queue, set the printer options to the following:
- Type: Windows printer via spoolss
- Device: Another Device
- URL: smb://itctsequitrac02.uc.ucalgary.ca/CS_Research
- Use: Select RICOH MP C4510 PS. If you do not see this option, download and install it from Ricoh's Website

Follow-Me Printing (Staff)
The Staff follow-me print queue allows you to print to any staff printer on campus. You must manually release the job at the printer using your OneCard.
To add a Follow-Me print queue, set the printer options to the following:
- Type: Windows printer via spoolss
- Device: Another Device
- URL: smb://itctspcp01.uc.ucalgary.ca/Staff
- Use: Select RICOH MP C4510 PS. If you do not see this option, download and install it from Ricoh's Website

Follow-Me Printing (Student)
A Student follow-me print queue allows you to print to any student printer on campus. You must manually release the job at the printer using your OneCard.
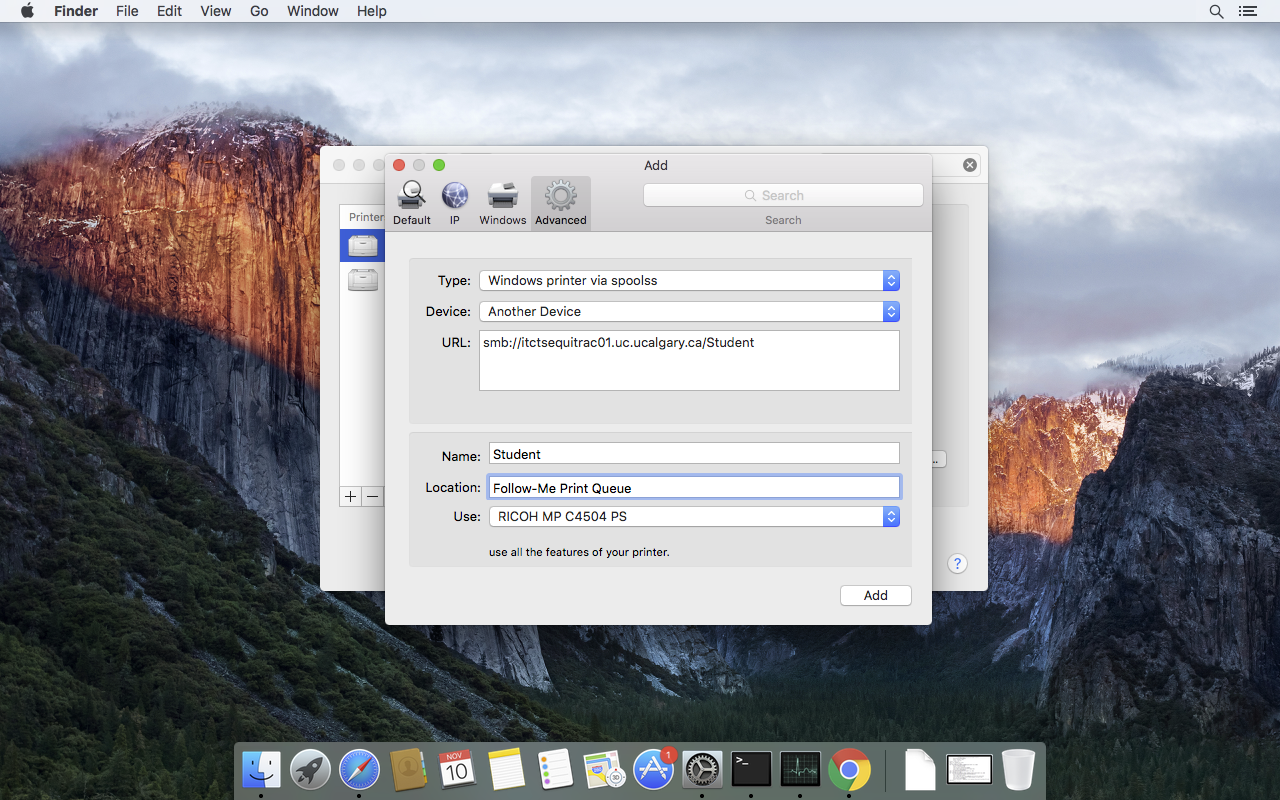
To add a direct queue to a printer, set the printer options to the following:
- Type: Windows printer via spoolss
- Device: Another Device
- URL: smb://itctspcp01.uc.ucalgary.ca/Student
- Use: Select RICOH MP C4510 PS. If you do not see this option, download and install it from Ricoh's Website
Your printer should now appear in the printers list.
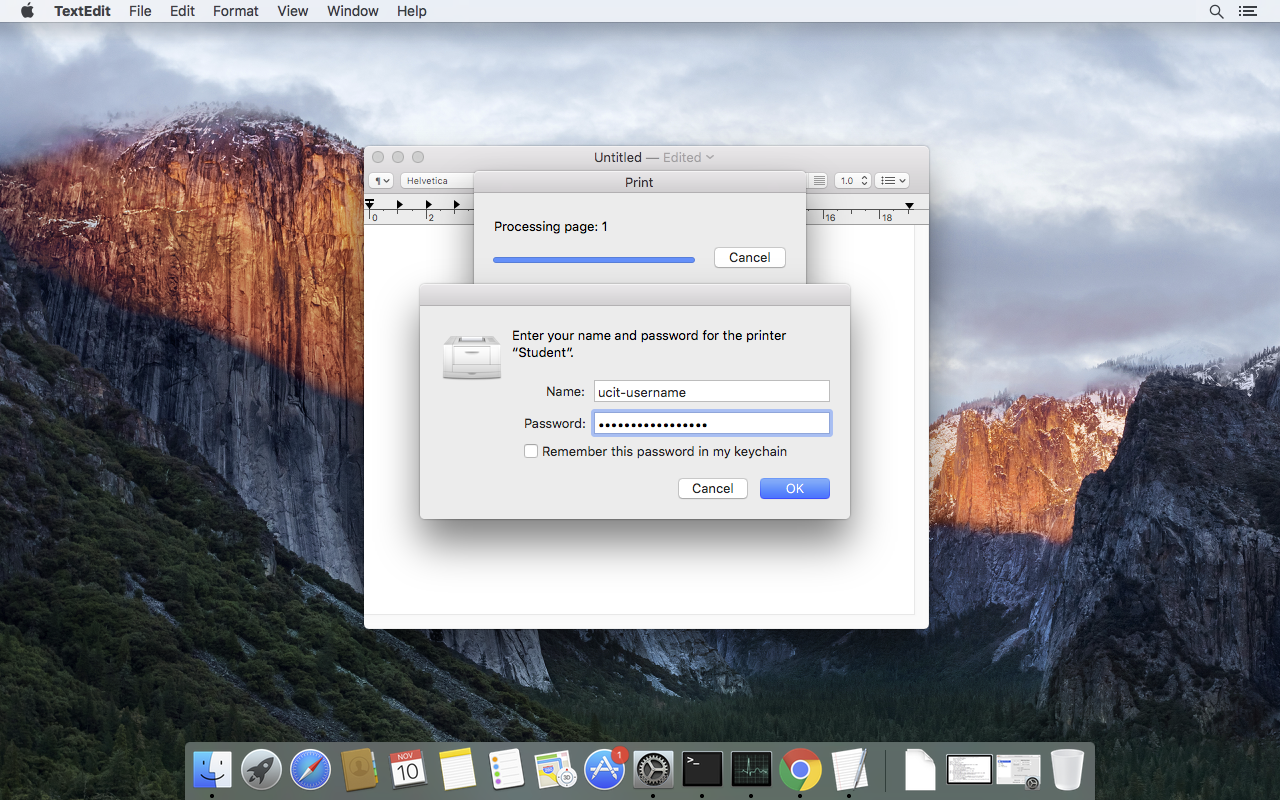
You will be asked for a username and password when printing. Enter your IT credentials.